Growing microgreens and sprouting are two of the easiest, fastest, most nutritious and most rewarding things you could possibly grow at home. You may need a green thumb to grow fruits and vegetables but not for sprouts!
See all of our sprouting and microgreen seeds, kits and more here.
What's the difference between microgreens and sprouts?
Both microgreens and sprouts are the young shoots of germinated seeds - essentially baby plants. You can grow grains, legumes, nuts and seeds as sprouts or microgreens and people are now fully realising the benefits of eating these young plants.
Sprouts are not grown in soil or other growing medium but rather are germinated with only water, usually in a jar or on a paper towel. They do not need light but require rinsing/misting at least twice per day, are ready to eat in 3-5 days and both the seed and plant are consumed.
Microgreens are grown in soil, a hydroponic growing pad or another growing medium. They require light, are usually ready to eat in 5-15 days depending on what you're growing and are cut off above the soil so only the stems and leaves are consumed.
Different seeds are more suited to either sprouting without a growing medium or growing in soil as a microgreen. Click here to see a list of some of the common seeds you can grow as a microgreen or sprout, which growing method is best for each seed and what the finished product tastes like.
See all of our sprouting and microgreen seeds, kits and other products online here.
Health Benefits of Microgreens and Sprouts
- Incredibly nutrient dense and low in calories. One study found that "some microgreens contain up to 40 times higher levels of vital nutrients than their mature counterparts" [1].
- Makes seeds easier to digest.
- Essential minerals and nutrients contained within the seeds/legumes become more bioavailable after sprouting (i.e. the nutrients become easier for your body to absorb and use).
- Delicious addition to a salad, sandwich, smoothie or other meal. Add a crunch or a peppery zing depending on the type you choose (see a list of different microgreens/sprouts and their tastes here).
1. Sprouts: The Jar Method
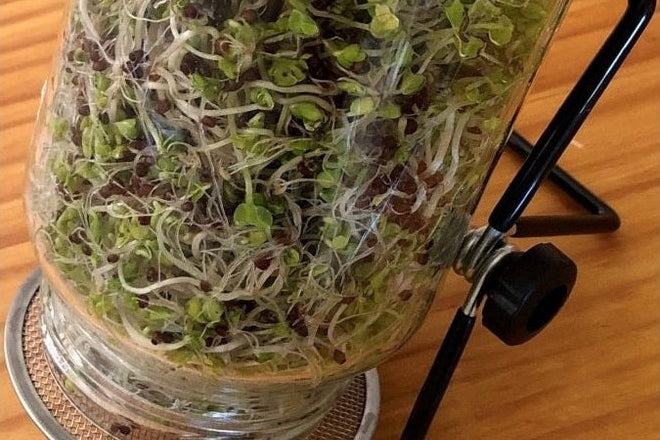
Sprouting in a jar is one of the most popular methods of home sprouting. It is a very straightforward process and great for beginners - broccoli sprouts are a good one to start with.
You will need a sprouting jar (or a sprouting lid that fits a recycled jar) and either a stand or simply place upside down on an angle in a bowl. Beware of moisture failing to escape your jar as mould can quickly grow.
- Soak seeds overnight in a dark place (e.g. kitchen cupboard).
- Drain water and place upside down on a sprouting jar stand or in a bowl so moisture can continue to drain out.
- For the next 3-5 days, rinse, drain and return to the stand/bowl twice per day.
- After 3-5 days when the sprouts are a few cm long, they are ready for eating! Remove from the jar and store on a moist paper towel/tea towel in the fridge (they will only last a couple of days).
For a free recycled jar, try your local Buy Nothing group.

2. Sprouts: The Tray Method
Sprouting in a tray can be done either by soaking and rinsing the seeds in a container, or through growing with a layered sprouting tray.
Sprouting using a container is best suited to sprouting legumes and nuts with small shoots. The timeline can vary depending on the legume but here is a rough guide:
- Cover legumes with water, pick out any pieces of skin or dirt that float to the top, cover and soak for 8-12 hours (overnight) until skins are soft.
- Completely drain all water by leaving to sit in a sieve and then transfer back to container. The legumes may have already started to sprout.
- Leave covered in the fridge for another night (this time dry) while the legumes continue to sprout.
- The sprouts may be ready by the next day (look for the small white tails). If not, rinse the legumes, drain until dry, and cover in the fridge overnight again.

Sprouting seeds in a tray
Alternatively, growing in a sprouting tray allows the seeds to rest on top of a water reservoir so that the roots can grow down and access an endless supply of water. The sprouts grow evenly and rapidly. This can be done using a simple sprouting tray or a stacked sprouter with multiple layers of sprouts.
- Fill the lower tray with water, place mesh tray on top and scatter seeds over mesh.
- Replace water in the lower tray at least once per day to avoid dirty water resulting in mucus and unhealthy sprouts.
This method is technically termed 'sprouting' but the result is more like growing microgreens. Hence, this method is best suited to seeds which grow tall shoots - essentially seeds that are suited to growing as a microgreen.

Sprouting seeds in a glass container
3. Microgreens: Growing Medium
Microgreens can be grown at home in a purpose-built microgreen growing tray or in any dish, container or tray filled with soil or other growing medium. Simply sow microgreen seeds close together and keep the soil moist (mist every day) until the shoots are a few cm long, green and ready to harvest.
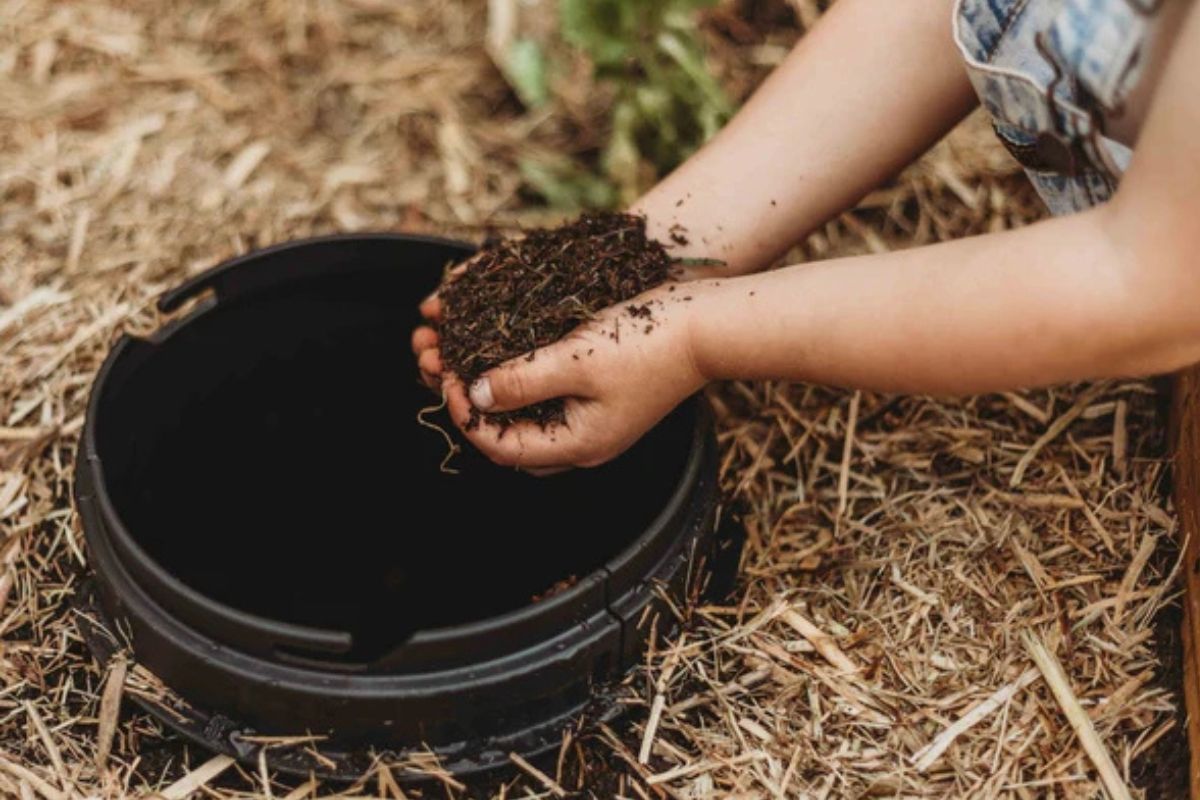
Our seedling flats make a great container for microgreens, or you can repurpose an old casserole dish. Use our bottle top sprinkler or plant mister to keep the soil moist. Our NutraRich potting mix or straw mulch make great microgreen soils, as well as our coir blocks which are usually used as worm bedding but are brilliant at retaining moisture so work great as a microgreen growing medium that only needs to be watered every couple of days.

Sprouting seeds in glass dishes
4. Microgreens: Hydroponic Pad
A moist growing pad or mat can also be used as a growing medium for microgreens. Keep it moist using a bottle top sprinkler or plant mister until the shoots are ready to harvest. You can buy purpose-built microgreen growing pads, or something like a jute worm blanket works just as well!

Sprouting seeds on a mat
5. Windowsill Microgreen Kit
For busy people, gift-giving or just anyone who wants a ready-to-go solution, our windowsill microgreen kits are a beautiful, Aussie-made product that come with everything you need.

We'd love to know what you are sprouting! Share photos and stories on our Facebook and Instagram or email us.
There is plenty more information on sprouting and growing microgreens all over the internet if you need more information.
See all of our sprouting and microgreen seeds, kits and more here.
Click here to read more of our free, online gardening resources.
References
[1] https://microgreensfarmer.com/microgreens-vs-sprouts-whats-the-difference/
https://plantproof.com/why-we-should-all-be-sprouting/


Leave a comment (all fields required)